Painted the vines and berries of my Taunton Chest...

Well, I bit the bullet and gave it a try. I bought some artists oil paints, thinner, pallet knives and two different striping brushes at Grand Art Supply downtown Lansing.  Great store, if you should find yourself in the area.

Having laid out the pencil work freehand, I figured I could paint it that way as well.  I was mostly right...

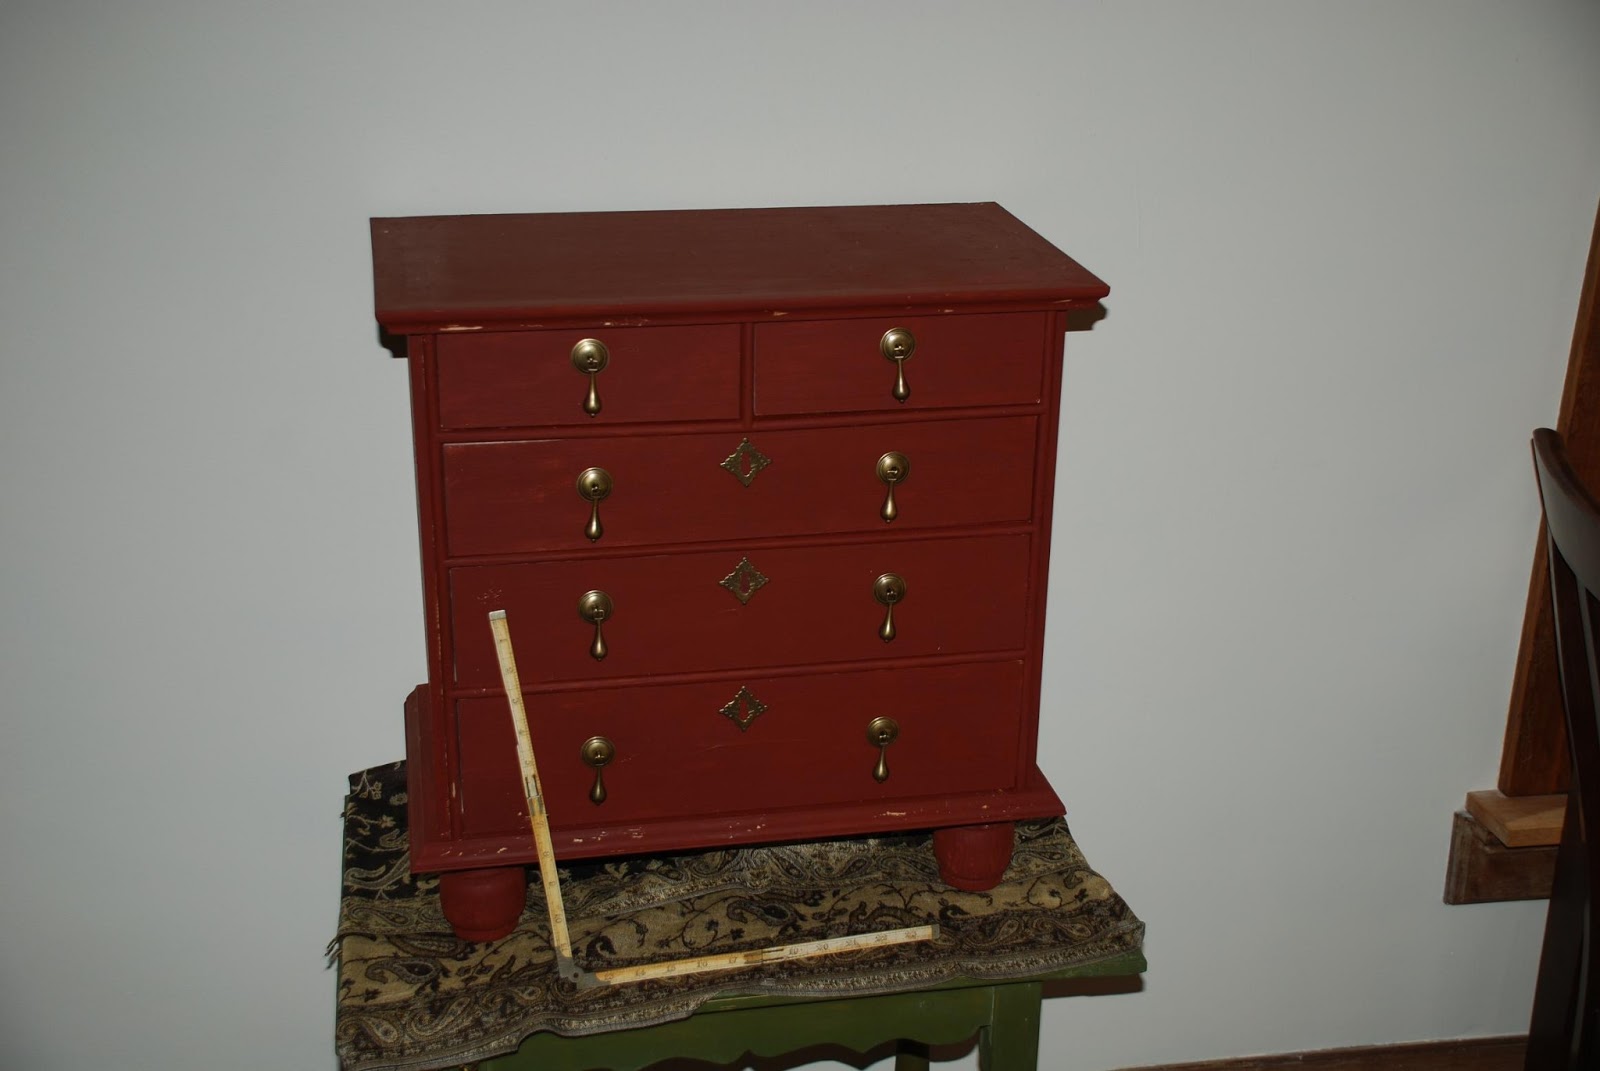
Please forgive the crummy camera-phone photos. Hardware not totally installed in this pic
I've since added several coats of tinted seedlac, so that the paint has a nice aged look.  The retina-searing white is now a nice yellow / gold, the blue and red berries are no longer so bright.  It looks really good, I will post more photos once I've rubbed out the surface with wax.

I'm unhappy with a line or two, but will leave it that way as a reminder to roll the brush when turning corners. This is to store my socks in my bedroom (old houses are awesome but the bedroom storage space is abysmal) so I will look at it every day.  Even with a couple of crummy lines, I'm still ecstatic.  This is my first ever attempt at painting this way...

Meanwhile, my next small chest is well under way... This one is the same basic build as the above chest, but is on bracket feet. This makes this chest a little later in style, more of a transitional piece between William and Mary and Queen Anne.

Check out the massive pile of pine shavings. That trash can is also full

This shot shows the glue block / actual leg. Brackets haven't yet been cut

Center joint, nice and tight thanks to my new 3/8" dado plane from Josh Clark.

It actually sits on glue blocks, which extend roughly 1/8" below the bracket feet. In these photos, the brackets haven't been cut out yet, but they have been now.  New photos will be taken as soon as the clamps come off.

This one will have the same pulls as the painted chest, but will just be painted brown. I am contemplating a "graining" effect, simulating walnut, but I haven't yet decided.  If I do that, I may just want to keep it instead of put it up for sale...

Zach


Another Taunton Chest... sort of.

I've been busy painting (and re-painting) various sections of the vining of my Taunton Chest.  It's been slow going but I think it's going to look really good when I'm done.  No pics in progress, but will have some soon.

Now, on to the next project. I was going to start on this small hanging cabinet next, but I've yet to hear if the magazine has accepted my article proposal on it.  Having to stop and take magazine quality photos changes my work patterns, so I won't begin this one until I know for sure if they want it or not.

I'm itching to build this little baby.

So, despite having a chicken coop to rebuild, a shop addition to plan, various home maintenance projects and a MWTCA meet to run, I decided this weekend that I needed to build something else.  So, I took the story sticks for my Taunton chest and built another case of the same form.  Five drawers, increasing in height as you go down the piece. A really quick job in white pine.

I had intended to paint this one brown, no vining, just a less expensive version to sell to a customer.  But, I saw this picture and changed my focus just a bit...

Should be great fun!

This piece is roughly the same construction as the piece that is currently on my bench.  However, this one is veneered in walnut with some stringing, bracket feet and cock-beading around the drawers.  A nice change of pace from the normal Taunton style.

I will have to pick up some walnut veneer, but I think this will be a beautiful style to copy. It isn't quite William and Mary, it isn't quite Queen Anne. It's a nice transitional piece, even if it is English! I really like the hardware on this one, but I already have the H-24 pulls from Horton Brasses, so that is what will be used. 

Or maybe I should just finish the chest as I intended it and build another with the intent to veneer it.  That might be a better idea. I can sell the painted version to fund the hardware purchase for the veneered version. 

Taunton Chest Part 2


Here is what I accomplished last night. This is as far as I will go before taking it down the LN show this weekend. I laid out the striping, berries and bird freehand with a soft pencil, working from the picture of the original. I threw in a couple of personalized areas so it's not exact, but it is very darn close and to the casual eye it is dead on. There are a couple of lines I'm not 100% happy with yet, so I will redo those before painting.


Overall... ignore the tape and the quill!
The striping will be done in white, leaves in green. The bird is blue, gold and red. Some of the berries will be red, others will be blue. The little dots around the escutcheons will be gold, as will the diamonds on the bottom drawer.

Need to rework the line, but love the initials!

Over all the striping and milk paint will be a dark shellac finish. This will take the brightness of the fresh striping down as well as make the box appear browner / aged but with the nice red undertone. Should be a stunner when completed!


Need to smooth the base of the lowest heart  

Speaking of the Lie-Nielsen tool show, I'll be demonstrating how to make sash by hand both days. I'm scheduled for 5pm on Friday afternoon and 12pm on Saturday. Come on down to Cincinnati and learn how to do a sash door for your next project without firing up a screaming demon!


I like the bird! Looks like the Liverpool FC Liver Bird!

Taunton Chest

The original


I've been busy with the construction of a copy of a particularly nice little chest made by Robert Crossman in 1727 (it is signed and dated!). The original is currently a dark red-brown with extremely intricate vine and bird painting.   The original sold at a Christies auction for $3 million.  Not bad for a pine piece that is only 22 inches square.... I'll take 1/100th of that for mine!


My version is currently a custom-mixed dark brown / red milk paint.  The case is made entirely of white pine, per the original.  The drawer fronts and feet are also white pine.

The cornice and waist moldings were made with dedicated molding planes, but the moldings around the drawers were done with a #6 hollow plane. Lots of fun!


A lumpy, not perfectly round foot. In other words, perfection.
Turning pine on a spring pole lathe is a challenge, but I made it work thanks to a burnishing tip you will see in the Tricks of the Trade section of Popular Woodworking Magazine.

I turned all four feet from one 13" long cylinder of white pine, then cut them apart. This ensured that the feet at least have a passing similarity with each other. This is exactly what I wanted, as imperfect turnings are par for the course on W&M pieces.

I've started to distress the finish (read scratch through the paint in certain areas and round over the sharp corners) but the detailed painting will wait until after I get back from the Lie-Nielsen Toolworks show.  Over the whole thing will go a couple of coats of dark shellac to grunge it up, as per my normal modus operandi.. Once that is done I will have another update!