
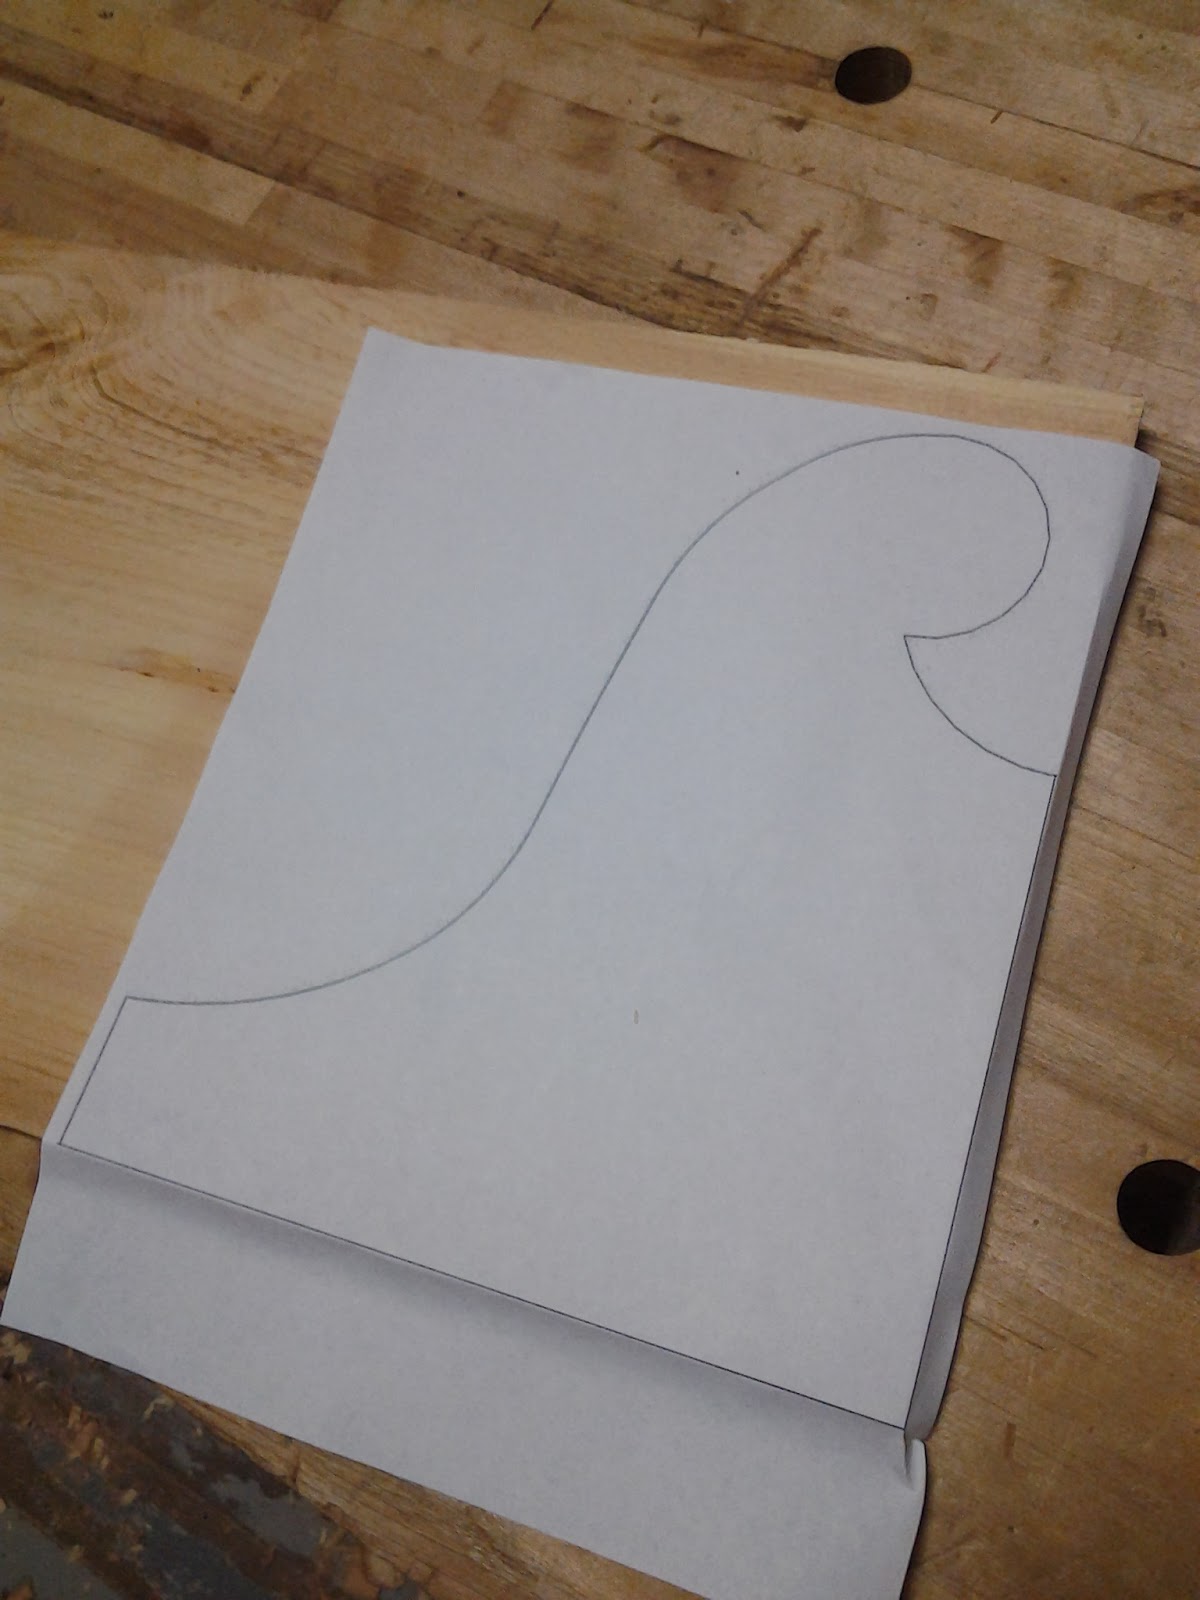
I only had about an hour in the shop last night, so I wasn't able to make much progress on my cabinet. When I know I have a short time, I try to focus on getting one small step done. This helps eliminate some of the frustration of having to wrap up shop work quickly. The part I chose to focus on yesterday was the facade template.
 |
| The original on which my work is based |
 |
 |
| Darken the line with a pencil and use the square on the end |
 |
| Square cut, well off the line but close to it |
 |
| All cut out |

Make sure you hold the template low in your vise while working on it. This pine is ridiculously easy to snap across the grain and the last thing you want to do is take out a big chunk of the piece you are working on. Holding the work low in the vise will help prevent this, as will using a light tough with the rasp. Also, be careful not to take out chunks of the work on the back edge, for the same reason you want to make sure the edges are square.

Leave just a bit of the wood past the line, as you can see in the above picture. This will allow you to sand the edge perfectly smooth without going past the line.
 |
| All finished in just over one hour |
This is the finished template. You can see that I left a little bit more of the wood past the line on the left side of the piece, near the square cut. This will give me just a bit of meat to smooth away once I have the side molding installed, as I want the facade, the side molding and the gooseneck molding to all meet neatly at this point. This gives me a little "wiggle room" to smooth away once that work is done.
The total time on this template is just over an hour. As you can see, I made sure to write the name of the project on the template. I save all my templates so that I can easily remake the piece should another client wish to own one. No sense in reinventing the wheel every time.
Next up, I will be using my freshly made template to cut out the facade from some cherry. After that, I'll start making moldings. To make the gooseneck, I'll be following the procedures described in Making Period Furniture (Fine Woodworking On) . So follow along!
Let me know if you'd like to see more project write-ups like this.
The total time on this template is just over an hour. As you can see, I made sure to write the name of the project on the template. I save all my templates so that I can easily remake the piece should another client wish to own one. No sense in reinventing the wheel every time.
Next up, I will be using my freshly made template to cut out the facade from some cherry. After that, I'll start making moldings. To make the gooseneck, I'll be following the procedures described in Making Period Furniture (Fine Woodworking On)
Let me know if you'd like to see more project write-ups like this.
Hi Zach,
ReplyDeleteGreat post. I'll be interested to see how the carving of the gooseneck pieces goes! And then, of course, there's the sash work! Keep up the great work, and thanks for sharing your process...it's very helpful!
Cheers,
Derek
Glad you're enjoying the work Derek. I'll be making the sash door after I finish up the facade and moldings. After that, I'll just have the finish! I'm trying to get this done by the end of the year, and that is a goal I think I'll be able to meet.
ReplyDeleteZach
Zach, yes and yes to more write ups. This type of thing is exactly what I like to read about, kudos for not "correcting" an percived error in proportion, if you did the piece would become anonymous.
ReplyDeleteThanks Graham! I'm glad some other people see it that way. I love the piece!
DeleteI for one, like to see the type of post you have provided. It starts before most articles by preparing a template that will remove a lot of uncertainty in preparing the facade of this unusual piece. This is already something that has broadened my outlook on projects. Do you have any conjecture about the history of this cabinet?
ReplyDeleteI look forward to following you through this project but at your own pace whatever that may be.
I really don't have any conjecture on it Chuck. It is just strange. The original is in spanish cedar according to the antiques dealer who owns / owned it. Some have speculated it is a cutoff tall case clock hood, but whoever did that would have had to create a whole new door (clocks don't have sash doors) and they would have hinged it on the "wrong" side (virtually every clock I've ever seen hinges on the right and opens from the left, the opposite of this piece).
DeleteIt is said to be 1790s and from New England. Beyond that, I'm really not sure about anything other than the fact that I love it.
I'm glad that my writing has helped expand your outlook on projects. There are lots of worthy pieces out there, just waiting to be copied by someone who is willing to look outside the normal range of "acceptable" period pieces.