Updates from a very busy woodshop

I've been very busy in the shop, building two projects for upcoming Popular Woodworking articles. I still managed to work on a couple of personal projects.

First, a Roman bench as popularized by Chris Schwarz. Mine is a bit shorter than the plan calls for but is still a very useful little thing. I've always sat for a large portion of my work and this makes it that much easier to do so.


I knocked together a qamutiik (Inuit sled) for hauling firewood this winter. Made with traditional lashings instead of nails or screws, the flexibility of this sled should help get over the snowbanks and ice between the wood shed and the wood stove.


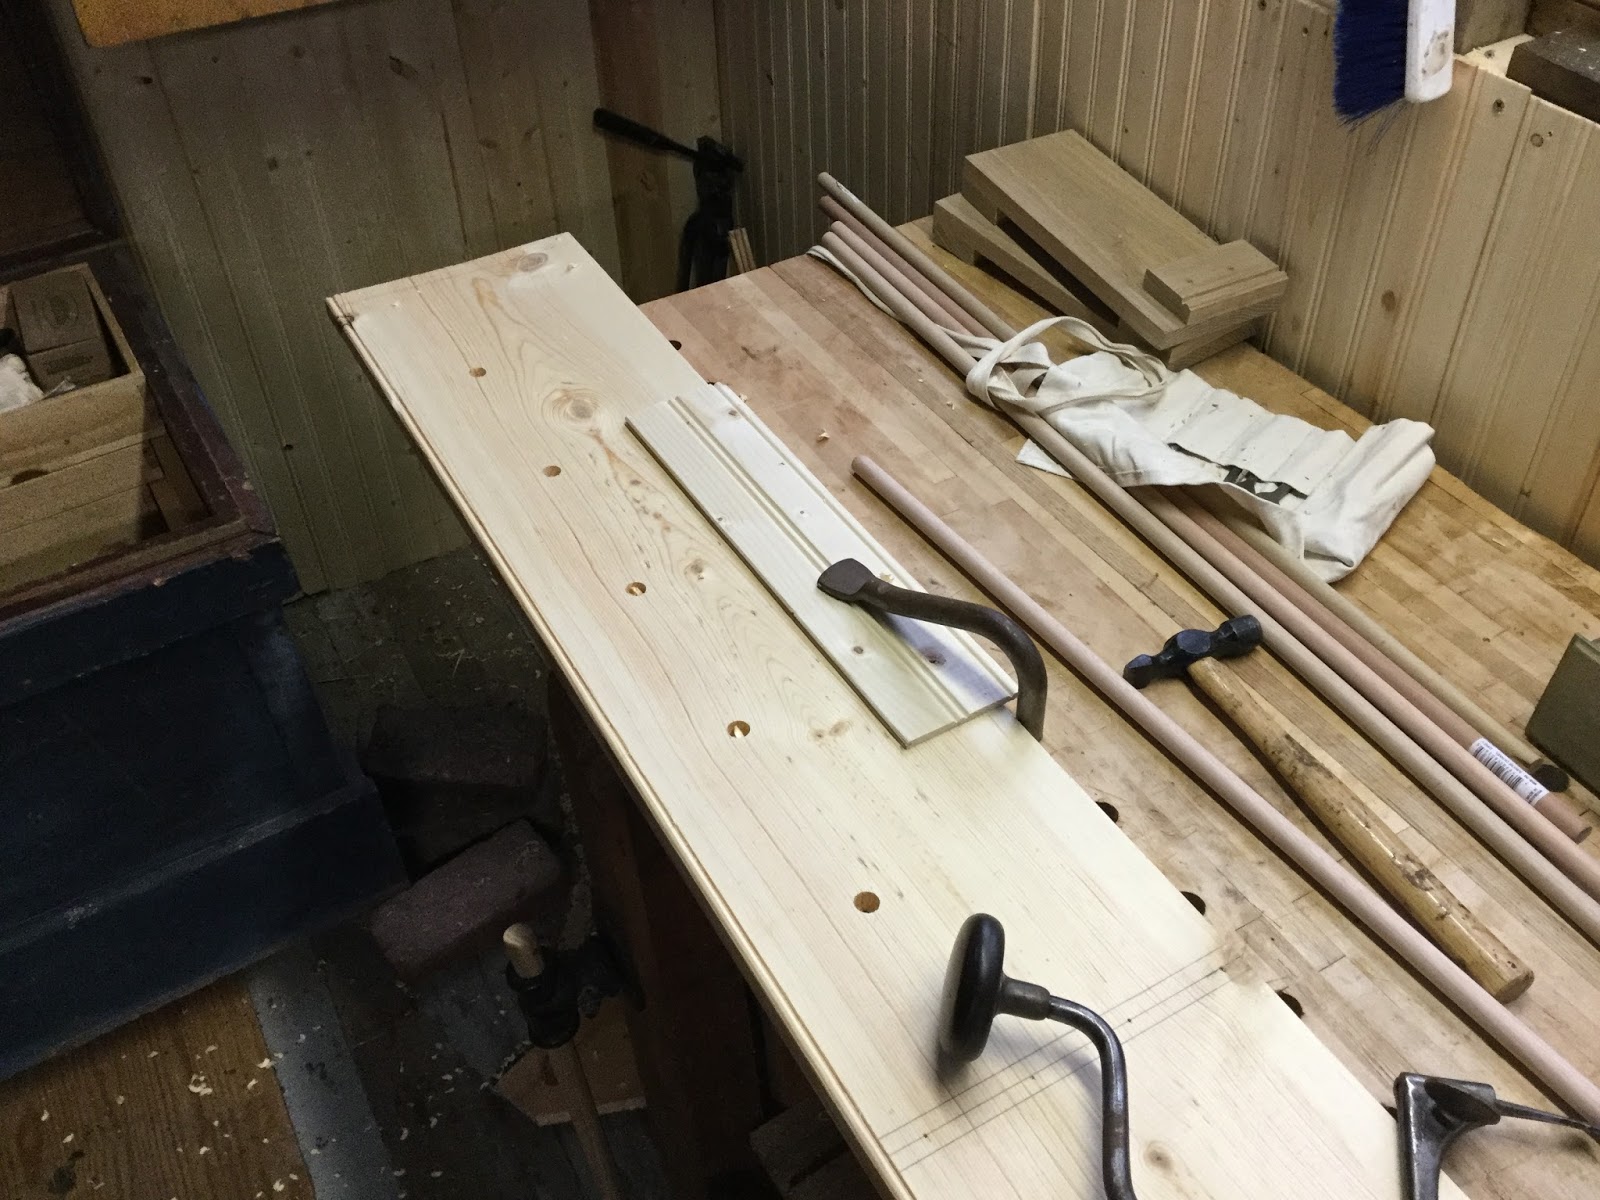
I've also cut down, stripped the bark from, and put up to dry a 8 foot maple sapling. This is destined to become a spring pole for a new lathe. My old lathe is worn out from a decade or more of hard use and I plan to replace it once the PW build craziness is over.


From the remnants of this tree and other deadfall from the yard, I've put up a few twig bundles for the wood stove. This is always a fun little distraction that can happen at any time. Lately I've been having my two year old daughter Abigail help me gather sticks from the yard. Fun times.


Finally, I knocked together this little box. Inspired by the Mastermyr box with a couple of small changes, this will store my augers, gimlets, braces, and other boring equipment on a daily basis and will also make a fine partner for traveling to demonstrations. It still needs a lid but, since this picture was taken, I've planed out a piece of sassafras to serve. Again, lightness is a priority for traveling.


That's pretty much it in terms of things that I can talk about. You'll be seeing my writing more and more in PW and on the PW website so keep an eye out for that!

Zach

My second book is available now!

During my layoff from my woodshop, I spent a fair amount of time organizing and filing mountains of notes, thoughts, photos, and ideas for later use. During this process I realized that "later" was now and "use" was another book. I organized my thoughts, rewrote a bunch of them, and put together this little collection.

The book is available here.

Because it isn't exactly a traditional book and doesn't really fit any traditional woodworking publishing category, I self-published using Amazon CreateSpace. The process was quite smooth and I will do it again. I highly recommend it to anyone who has a book or six rattling around in their head.

I'm very proud of this book. It is totally different than most of what you'll see in the woodworking media. Part comedy book, part philosophy text, and part how-to. If you pick up a copy, I hope you enjoy it.

All the best,
Zach

Tool wall

Well, are you bored with reading posts about my shop renovation project yet? I'm starting to tire of the project myself. I'm aching to get back to some real woodworking but I have a few more things to take care of first.

The tool racks are largely done, just need a few more in a few spots and I need to figure out auger bit storage. They currently live in tool rolls on one of the new shelves but this may change. I'm leaning towards a few bit blocks stashed on the shelf below the saws.


It should be warm enough to finish painting everything in the next two weeks. Then I can lay the new decking for the attic floor and get my lumber storage organized up there.

I can't believe the number of tools that I own that I simply forgot about. I need to have a woodworker's yard sale...

Williamsburg / Jamestown pictures

I've been very busy putting up insulation and siding in my shop, which is not very interesting work to read about on a blog. So, I've dipped into my archives a bit and decided to put out some pictures of a trip my wife and I took to Virginia back in 2010. Our travels took us to Historic Jamestown, Jamestown Settlement, and Colonial Williamsburg... here are a few of the pictures we took during that trip.

The original hearth and chimney of the joinery at Monticello

A slightly different angle of the 'Nickel View'

A very cool architect's desk designed by Jefferson

The Hay Shop

The Williamsburg Courthouse

A cornice plane stamped 'Underhill' and made by the man himself

A messy workbench at the joiner's shop

One of many fascinating timberframe buildings at Jamestown Settlement

New work at the Settlement

Inside the church

I'm copying this style of rack for my axes and froes

A recreation of one of the ships that carried the colonists to Jamestown in 1607

Beyond the pale...

Tool storage racks and shelves

In my continuing quest to clean and upgrade my workshop, I've been seriously considering my options for tool storage. I've always loved the look and functionality of the systems used in the shops in Williamsburg, namely shelves and racks. My inability to heat my building has made this an unworkable solution so the tools have lived in chests for many years. Now that I'm insulating and electrifying the shop, I'll be able to keep the building at a minimum of 50 degrees year round. This means tools can live on walls.

To that end I've been busily making shelves and racks. I've chosen to paint them, along with the window trim, in a brownish-beige color which will contrast nicely with the soon-to-be white walls.

I'm simply using dimensional pine from the Borg. It's rare that I use pre-dimensioned lumber but, with my time at a premium these days, I'm going to be saving my efforts for where it really matters, i.e. my actual work. I did hand plane a nice bead detail on the what will become the bottom of the rack, and will plane similar beads on future racks.

 Here it is hanging temporarily before painting. I decided that I will hang it in a lower position when I install it permanently.

Tool rack from Sampson Joinery Shop. Photo by Peter Follansbee
I'm also planning to make a few of these racks from the Sampson Joinery Shop as documented by Peter Follansbee.

It's still far too cold to paint anything outdoors so the walls will have to wait a while yet (c'mon Spring!). The shelf rack was painted inside and I'm pleased with the look. I suspect it will look even better against white walls.

I hope this series on shop improvements is inspirational. I know I'm enjoying getting back out there and making things a little brighter, a little cleaner, and hopefully a little warmer!

It has to get worse before it gets better

My slight shop cleanup has turned into rather more than that. I decided that, since I had everything put away while cleaning, I would go ahead and put some bead board and insulation up. I had originally planned to just do the area near my bench to help improve the lighting for photograph. This is where you last saw it.


Here is what it looks like as of yesterday....

I decided to make better use of the window at the far (East) end of the shop. With paneling and a cleanup at that end, which was always a junk heap just out of the frame of pictures, I'll be able to put a second, albeit shorter, bench there to take advantage of the beautiful light there. I will also pull my main bench out away from the wall about 8 inches or so to enable me to use the East end in my work.

Once I'm done with the paneling and insulation, I'll be able to cost-effectively heat the building throughout the winter. That means I can keep more of my tools on the walls and not fear for their safety. To that end I'm going to be putting up a few shelves and some lengths of 1x4 with dowel pegs every 6 or 8 inches near the ceiling level of the first floor. This will give me plenty of convenient places to hang saws, draw knifes, etc.

The ultimate inspiration for these changes is this picture I took in the Williamsburg Joiner's Shop back in 2010. I've always wanted a shop that looks like this; now I'm well on my way to achieving that goal.

In the mean time, I also picked up a new tool. As a dedicated contrarian, I have resisted these for years because they were just too popular. My resistance finally waned after using one, so here is it, along with the rod extension set. I guess I will give it a try and see how it works out.


All the best,
Zach

My favorite chisels

Planes seem to get all the love from hand tool woodworkers but it is with chisels that my work really gets done. Without my beloved bits of razor sharp steel on wood handles, I would be lost and totally useless in a woodshop. Aside from my full set of Gabriel hollows and rounds, they are most prized tools and the things I would run into a burning shop to save.


I have many wonderful chisels but I thought that a closer look at a few of my favorites might be appreciated.

My Blue Spruce paring chisel which I purchased at Woodworking in America a couple of years ago is pretty high on the list. It is beautifully made tool that, more importantly, works beautifully too.
All the best,


My workaday bench chisels. A mostly full set of William Butchers with one no-name, a Lakeside, thrown in. The Lakeside is my favorite overall chisel and the one I grab for first for most shop tasks. It is also the only tool with which I have ever seriously hurt myself, having nearly lost the tip of my right pinky finger in a moment of sheer stupidity involving poor work holding choices. The handles, except for the vintage one in the middle, are shop made in a process I documented here on the blog.

I also enjoy my Lie-Nielsen bench chisels. They are truly beautiful tools that I use less than I should.


My Iles mortising chisel. I have some vintage ones too but the Iles usually gets the nod for any task which can accommodate the 3/8" width. I should just bite the bullet and get one in 1/4" and maybe 1/2" too.

I'm always on the lookout for new chisels as well. Do you have any particular favorites of which I should be made aware? Let me know in the comments section.


Zach


Shop improvements project part 2

I'm closing in on finally being comfortable enough with the condition of the shop to start working again. While cleaning I found some tongue and groove siding boards that I had left over from another project, so I decided to put them to use in the shop.


Getting good lighting conditions for taking print worth pictures has always been a problem for me. Hopefully these bright, clean walls will help. Once I finish putting up boards on the first floor walls I'll paint all the pine white, I will leave the exposed timbers in weathered condition for appearances sake. 

I also took some time to put an extra upper kitchen cabinet into position at the end of the bench. Previously this had been a catch-all at the other end of the shop. I will store my molding planes in this cabinet once I add a few shelves and put doors on it. I'm trying to decide if I want glass doors or doors with a whiteboard panel in the center for making shop notes. I currently write quick notes, measurements, etc. directly onto my bench top so a whiteboard would be useful.


I also found time to replace my 15 year old and totally worn out bench hook. More on this to come.

All the best.

Zach

18th century style backsaws from Williamsburg


Some time ago, I was lucky enough to obtain a pair of backsaws identical to those used in the Hay Shop at Williamsburg. These saws are not commercially available and I cannot disclose how I obtained them, but they are as close to the reality of using proper 18th century saws as is possible today.

They are beautiful, both in form and in function. The Kenyon style saw, in particular, as it has a 3/8" thick brass back, sand cast brass nuts, and a shapely beech handle. The saw is a perfection reflection of what was done at the time, with some light tool marks on the beech handle and other signs of workmanship throughout. It is essentially identical in appearance and construction to the saw in the famous Seaton Chest.


The steel backed saw is based on the only known surviving example of a White tenon saw and is the more interesting of the two in my opinion.  It is significantly rougher in construction than the Kenyon saw and appears to be much less expensive overall. It features a 1/16" folded steel back with an interesting bead filed in at the toe, steel screws, heavy rasp marks on the beech handle, and an as-ground surface on the plate. I am told this style saw was very popular in Virginia during the third quarter of the 18th century.


They are both filed with rip teeth and are functionally very similar, though the significant weight of the Kenyon is noticeable in use. Owning the pair of them is a glorious extravagance for me and I'm both honored and extremely lucky, to own them.

The first order of business... a clean shop

My hiatus from woodworking was also a hiatus from maintaining my shop. It accumulated scraps of wood and bits of metal from car restoration and home repair projects, cobwebs, and a few mice. I could see templates, scraps, and quickie shop drawings I made while working on my book. My tools were properly stored, of course, so there is no rust or damage to deal with but, before I can do any real woodworking, the shop needs a thorough cleaning.


This is an impossible space for me to work in. Unlike many of my fellow galoots, I require a spotless, absolutely clear bench and I always put my tools away properly before calling it a day. The idea of working in a shop this cluttered makes my skin crawl.

I spent about two hours moving piles of junk, tossing scraps, sweeping, and organizing. I need another few hours or so to get the wood pile in order and sort out the storage loft, but I'm happy with my progress for the day. I'm likely going to have a bunch of unused tools to get rid of, so watch this space if you're in the market.

My next shop projects will be some new bench hooks (gave my previous one away), and a pair of doors for the hanging cupboard I salvaged from my last house (far in the corner).


Once I get the outside shop done I need to tackle my auxiliary basement shop, where I finish my new pieces and occasionally take on repair / refinishing projects for myself and others. The 18th century English mahogany kneehole desk has been sitting down there for nearly three years... I really should do something with it once of these days.


Until next time,
Zach


With Saw, Plane and Chisel

Hi guys,

I've never made these publicly available, only by request or at in-person appearances. But I just got another case of books in the mail and thought I'd give you all a crack at it.

Here is the writeup on the book provided by the publisher F&W.


"With Saw, Plane & Chisel documents the hand-tool-only construction of six pieces of classic American period furniture, spanning the major styles from the 1690s through to the mid-19th century. This will include details on how to do veneer work, inlay, painted decoration, etc. Finally, this book offers a brief look at the historical development of these styles and the European influences from which they evolved. Woodworkers will gain a strong understanding of how period furniture was made, how that influenced the development of those styles, and how to use this information to make excellent, realistic period furniture today."

I am offering copies of the book, signed by me (if you prefer), for $35 shipped to the lower 48. If you're interested, drop me a PM or shoot me an email at zacharydillinger@gmail.com

All the best,
Zach