Swedish-Estonian style breast drill - part 2


In Part 1, I discussed the inspiration for and the first steps towards building a unique breast drill that I found in the classic "Woodworking in Estonia". This post continues that project.

With the lower body completed I moved on to the pad, the part to which chest pressure is applied to both steady and advance the auger bit. The book shows that the chest stock is made from a piece of tree branch. The hole for the stock tenon is bored through a knot, enabling the grain to flow around the hole which should help prevent splitting.

I selected a likely looking piece of maple from my firewood pile and started after it with a variety hand adzes and hatches.

Pretending to chop the knot swell flush to the rest of the wood.

Boring the hole


Bark removed and rough layout lines drawn on.

Starting the work with a hatchet

More work, now with cooper's adze

More adze work, getting close now.

I love the texture left by the adze. Some of this will remain.

All in all, a very successful attempt. This is after one quick coat of my preferred finish for tools, a blend of pine tar, linseed oil, and turpentine. Several more coats will be applied after all other steps are completed.


Next up, I'll be choosing and fitting an auger bit to burn into this stock and pouring some pewter. It's about to get smoky in the wood shop (usually a very bad thing).


- Zachary Dillinger

Swedish-Estonian style breast drill - part 1


A couple of weeks ago, I finally had a chance to pick up Lost Art Press's version of "Woodworking in Estonia". Despite being an avowed acolyte of Roy Underhill, who states that this particular book is his favorite, I'd never before read Vires's masterwork. Well, that has now changed and, frankly, it is eye opening. It made clearer so many of the relationships between tools, names for tools, and how their usage has evolved. I highly recommend the book, available here.

The book, coupled with a reread of Issue Six of Mortise & Tenon Magazine, led me to undertake a new tool project. You can see the original in the upper right hand corner of my opening image, a Swedish-Estonian breast drill. Being sans lathe at the moment (a situation to be corrected soon), I opted for the simple style shown on the right.

Vires says that many, if not most, of these drills were constructed predominantly from birch and I just happened to have an appropriate piece.

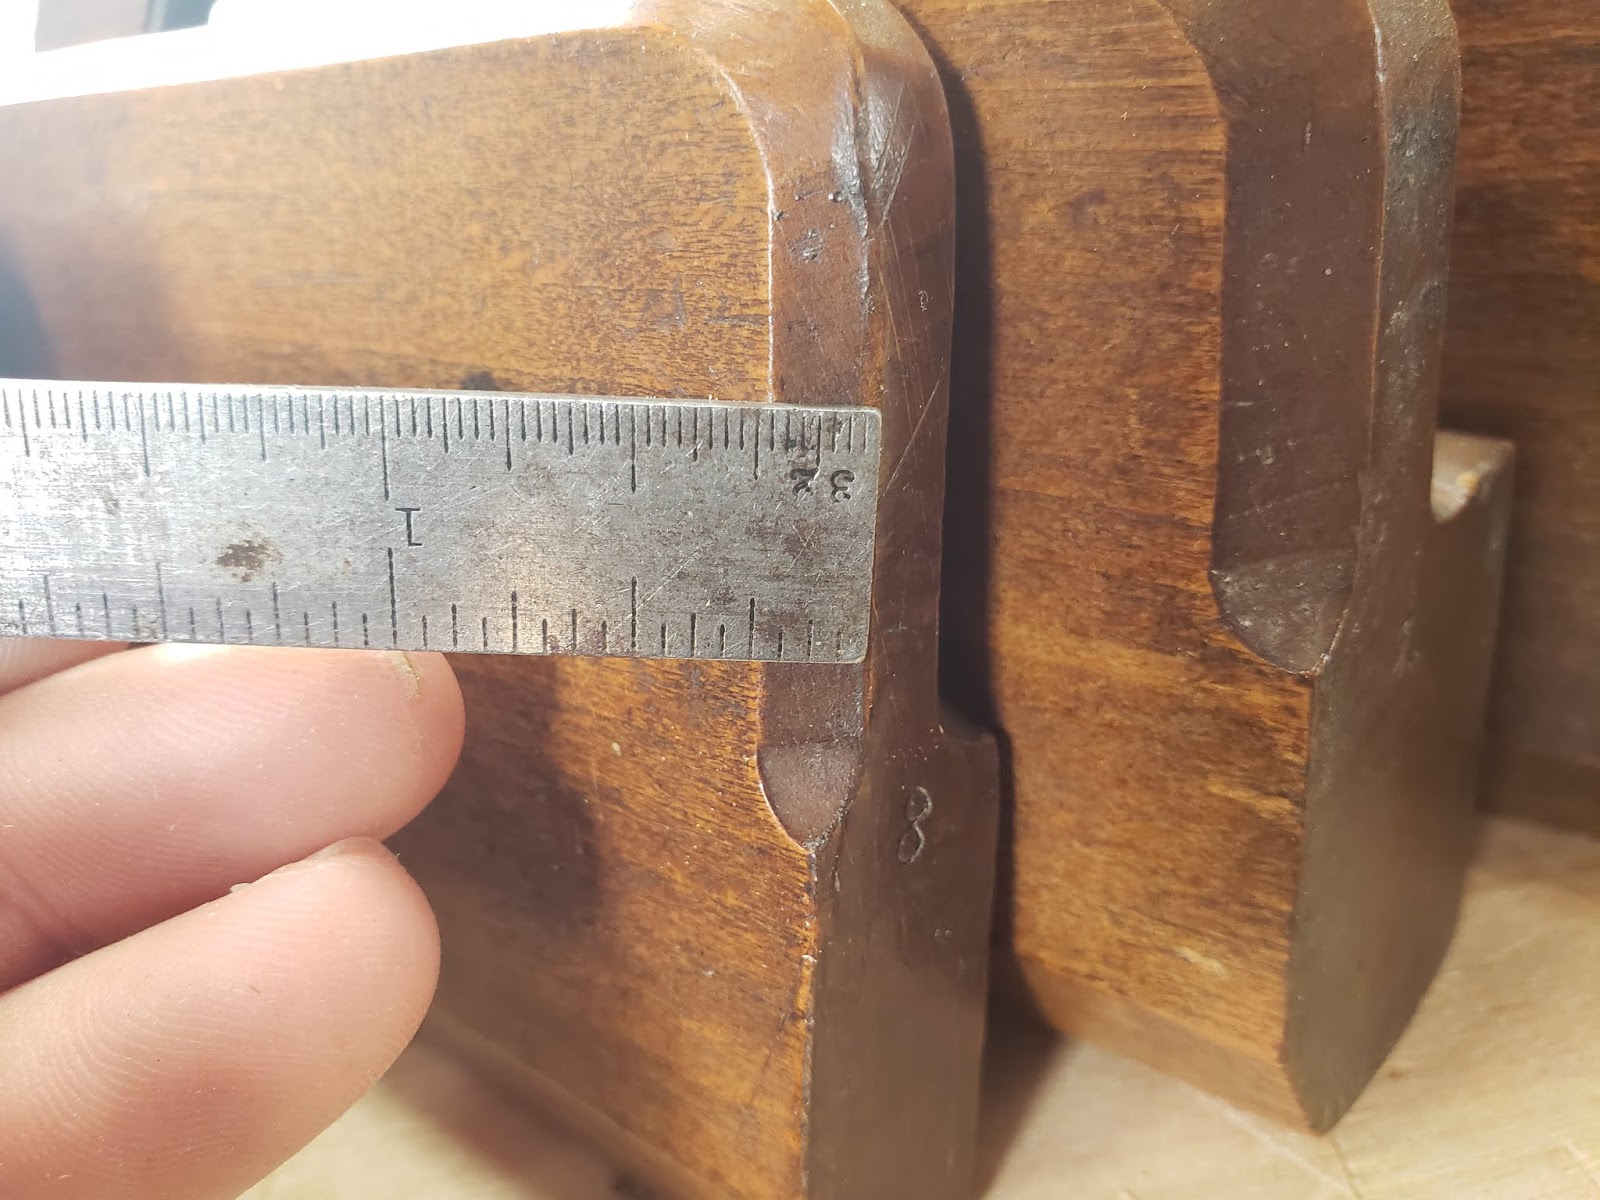
The work began with laying out the rough blank then ripping and crosscutting it free.


I then planed to my layout line giving me a square blank which enabled me to accurately lay out the center of the piece on both ends.

 I then used a center bit, with the central pike in the center of blank, to lay out the end tenon which will ultimately go into the chest stock. Using a crosscut backsaw, I sawed in to rough depth on all four sides before splitting away the waste with a chisel.

 I then used my Stearns hollow auger to cut the tenon perfectly round.

Some basic shaping, a chopped mortise in the center, and a long turning bar were then made completing the lower part of the drill.


The next post will be a detail of creating the chest stock from a piece of maple firewood. After that, I'll cover the process of fitting a pewter collar and burning an auger bit into the stock.

- Zachary Dillinger


No one is gone if you remember them and speak their name

To Jamie Bacon: friend, craftsman, and raconteur
It's very difficult for me to believe it but it will soon be five years since Jamie Bacon of the Plane Shavings blog left our mortal world. I never had the privilege of meeting Jamie in person but, if you've ever read his blog, you'll understand why we were frequent correspondents.

His blog was superb and remains so. It is well worth another read through.

http://planeshavings.blogspot.com/

To friend Jamie, wherever you are, I hope your planes are sharp and that the walnut is all air-dried.

- Zachary Dillinger

Our predecessors

The chimney of Thomas Jefferson's joinery at Monticello. Photo by Zachary Dillinger.

"We are not wiser, we are not better, we are not stronger than our predecessors, but we have their accumulated knowledge and wisdom to build upon. We have gained in understanding and technical knowledge: this vast treasure house is our inheritance. With the creative intelligence of the people now living combined with wisdom developed over the centuries, we may create a self-sustaining flame of human happiness.

- Bill Copperthwaite

Chatoyance on hand planed pine

Chatoyance is the fancy term for wood that shimmers and shines in the light. It is most prevalent in certain types of wood, especially heavily figured examples, but can be observed in just about any species. In case you've never seen it, this is what it looks like on freshly planed pine. As you can see, a properly tuned and sharpened hand plane gives even this big-box hardware store pine a stunning, reflective look.

This is what I refer to as a "Class 1" surface in my book With Saw, Plane and Chisel.


This was achieved with my shop-made Dutch style planes, specifically the voorlooper and the gerfschaaf below.


Making an ancient handplane

My curly birch version of a c.1300 plane
Last Thursday, the Viking Museum Instragram feed posted a picture of a truly exciting plane that they use in the process of reconstructing Viking-era ships. It is based on one found on Skraeling Island and has been dated c.1300.

When I saw this thing, I knew that I had to make one and I found some time this weekend and put one together.

To speed the process along so that I could experiment with the plane more quickly, I chose to make a glued up body rather than chop the plane from one piece.


The glued up plane body. The iron is bedded at 45 degrees.

Such cool tool marks left by the in-cannel gouge

It took all of my self control to not leave the cool gouge marks in the body while carving the curves. Having worked with such tools before, I can tell you that those ridges, while attractive, are sure to raise a blister. So I smoothed them away with a rasp and sandpaper.

King Edward's dowel stock

Whenever I have oak scraps or cutoffs, I split them into dowel sized billets and put them in a cigar box high up on a shelf to dry out completely. One of the blanks was selected and driven through my 3/8" dowel plate with my new hand sledge.

I love the shavings that the dowel plate leaves
 This split oak dowel was used as the cross pin for the plane. The Viking Museum's example uses a steel cross pin but I didn't have any steel rod of the appropriate diameter. Also, based on previous plane making experience, I find that a wood pin seems to hold the wedge better than steel. Should the oak fail in use it will be a simple thing to replace as it isn't glued in.

The finished article
 Interestingly enough, the Viking Museum appears to use their plane on the push stroke. I tried this but found that the plane works much better on the pull, at least for me. This type of discovery is why I consider myself as much of an experimental archaeologist as I do a furniture maker: trying to replicate the work of the past (in this case the ancient past) is why I do what I do.

I should probably make some actual furniture soon but I'm having a lot of fun cleaning, reorganizing, and restocking the shop with some fun new tools.


As you can see, it works very well.


- Zachary Dillinger

Another use for the sash fillister


I don't usually need anything more than a gauge line to work to for bringing a board to thickness but, on jobs that require abnormal precision, sometimes a more distinct visual reference is called for.

One technique that I have used in the past is to bring a board to width and rough length, flatten a reference face then use a sash fillister plane to cut a rabbet into the opposite side across the two ends and along the two long grain edges. The rabbets can then be used to guide my final thicknessing efforts. This is similar to the technique of gauging flooring for historic buildings, where you only adze away the waste to a common thickness where the board crosses a joist. Thanks to Roy Underhill for this and countless thousands of other tidbits of information.

The sash fillister is used because it "hops" over the wood to be cut and references the already flattened reference face while cutting the other side of the board. As long as your fence locks down tight, the resulting distance between the reference face and the cut edge of the rabbet should be the same all the way around the board.


The benefits of this technique when planing a board to thickness are obvious but where it really shines is in resawing. The rabbets give a positive reference surface, rather like a fence, to guide the saw plate.


This is a very useful technique as it makes a precise surface along the edges where precise thickness often matters most for aesthetics and for cutting joinery.  Plus I just like using my sash fillister plane and I don't get to make sash as often as I'd like.


- Zach Dillinger


Details from my c.1770 Gabriel hollows and rounds

As some of you know, I'm the proud owner of a full set of 18th century hollows and rounds made by Christopher Gabriel c.1770. These planes could have been on the shelf next to those that found their way into the famous Benjamin Seaton tool chest, which is incredibly cool to me. All bear the same owner's mark and seem to always have been together (thanks again Patrick!)


Pardon the halo on these, a small part of my prized collection

I recently had a request over on my Instagram feed for some specific measurements from these planes from a fellow woodworker who is seeking to make his own set of molding planes. In doing so I noticed something very interesting regarding the width of the chamfers that are cut to soften the top corners and make the planes more comfortable to hold.
#2, #8, #16 pairs

The #1 set, i.e. 1/16" wide, has a chamfer which is 3/16" (or 6/32") wide. The #2 pair goes to 7/32", and this measurement stays the same all the way through the #11 pair. Starting with the #12 pair, the measurement goes up by approximately 1/32" of an inch for each pair of pairs (even and odd), i.e. #12 and #13 pairs are 8/32" (1/4"), the #14 and #15 pairs are 9/32", the #16 and #17 pairs are 10/32" (5/16"). The #18 pair is 11/32" but I do not have anything larger to know if that same formula would continue into larger, joiner sized planes.


#2 pair - 7/32"

#8 - 7/32"

#16 - 10/32"

In a world where many modern makers use the same sized chamfer for all their molding planes, regardless of size, this is an interesting detail. I found it intriguing that handmade planes exhibited this type of precise formulation.

I'd be very interested to learn if anyone else has a set of planes like this which displays this sort of sizing formula.

- Zach Dillinger

Fitting a Jacobs chuck to my old post drill

A couple of days ago I posted about a post drill which I've been tripping over since 2012. I bolted it to the middle bent in my timber frame shop the other day, thinking it would be of limited utility to me and my work due to its specialized S&D style chuck which can only fit 1/2" diameter shanks with a flat ground onto them to engage the chuck's set screw.


Then my friend John Johnston showed me a picture of his very similar drill, to which he had fitted a modern Jacobs chuck. His method had been to obtain a chuck with a Morse taper shaft, file a flat on it, and install it into the old drill chuck. I set out to do just that but was unable to find a chuck with the shaft at any of the stores in the area. So I tried something different.

The local Harbor Freight (yes, I know...) had a Jacobs chuck designed to replace worn out chucks on power hand drills. It has a 1/2-20 threaded hole which would normally thread onto the drill's electric motor spindle. Instead, I obtained a 1/2-20 threaded bolt and threaded it into the chuck using Red Loctite (largely superfluous since this fitting actually tightens as the drill spins in the right direction).


 I then measured the chuck's depth to see how long the shaft should be, and cut the head off the bolt. Anytime you do metal work, utilizing new hacksaw blades and files make the work much, much easier.


 I then hand filed the flat onto the new shaft using a new 10" mill bastard file.


 The chuck fit perfectly and works exactly as I had hoped.


It still looks great. I hooked the chuck key to a length of light chain and nailed the chain to the same post so that I can't lose the key. And I'm planning to replace the modern lag screws with old-style square head lags (courtesy of my friend Jim Thommen).


I am not planning a full restoration on this but, now that it will be functional, I may give it a more thorough cleaning. And I still need to find the proper table, of course. 


- Zach Dillinger

Post Drills and Tornados

A quick update from the shop. I've been literally tripping over this Champion #101 post drill since I bought it from a Martin Donnelly auction in 2012. It, along with several other tools which I still own, were de-accessioned from the Colonial Williamsburg collection. I finally got sick of it laying on the floor so I mounted it to one of the main posts in my timber frame shop.

Looks great there. It will mostly be decorative but I may get around to fitting a modern chuck to it for actual use. Though, since it took me seven years to hang the thing, I wouldn't hold my breath.


I was in the middle of cleaning this up a bit and oiling the bearings when I heard the local tornado sirens go off. I shut up the shop in double-quick time and headed to the basement with April and Abigail. I managed to stay in the basement for a whole five minutes before venturing outside to see what was happening. It was dark, of course, so I couldn't see anything except the sideways rain flashing in the back door light.

I'm told by my mother that standing outside in dangerous weather is a common trait among Dillinger men. Apparently my dad even had a special storm watching hat, though I simply don't remember. I think I'll adopt the same affectation in honor of my dad Bill.

To Dad.

Zach

18th century style tool chest

I've been working out of a large, traditional tool chest for some time, the form similar to the famous Anarchist's Tool Chest popularized by Chris Schwarz. This is a great solution to storing a traditional set of tools but I've long wanted something a little different. This weekend I scratched that itch.

I spent this past weekend demonstrating period woodworking at the Johnson's Wood Expo in Charlotte, MI. Though it's an exhausting two days, it's always a great thrill to work alongside Scott Phillips, Chris Schoenberg, John Wilson, and Ernie Schuette and I can't wait until next year.

My home on Saturday
Since my wife had gone on a family trip with her parents and taken our daughter Abigail with her for weekend, I was all alone when I got home from the Expo each night. Not something I'm used to! So I spent those hours building this, a low tool chest inspired by the famous Thomas and Warren Nixon chest owned by the Framingham Mass Historical Society.

At 18" outside dimension, it is, I think, slightly wider than the actual thing but perfectly sized for my favorite set of planes, a chisel rack, and saw till. At approximately 50 inches long, it's a big mamma jamma but it will hold all I need and a bit more. I'm still planning a sliding till and, of course, it will need a proper mortise lock and casters (right now it is just sitting on a moving dolly). The finish is Sea Green milk paint under linseed oil, paste wax, and my own special blend of aging oil.


 Like many pine chests of the period, it is simply rabbeted and nailed together. I also lined it with acid-free construction paper to help prevent dust and moisture from attacking the treasures within. The blue paper in the till is a nod to "sugar paper", a commonly used drawer lining material from the period.

 I've only had a few hours in the shop with this chest but I like it very much already. It will probably supplant my deep 19th century style box in the very near future.... anybody wanna buy an updated antique tool chest?

I also built this handy 18" square. I happened to have some oak offcuts and scrap of just about the right size. It should be a nice addition to my kit.

Thanks all for reading. I'll do my best to have more frequent updates about my work and my various writing projects, including an upcoming article for Mortise & Tenon Magazine.

All the best,
Zach